An MX record — mail exchanger — tells other mail servers where to deliver email sent to [email protected]. Without one, mail for your domain has nowhere to go.
Add an MX record
- Open the domain's DNS records: Domains → the domain → Manage DNS.
- Under Add a record, choose MX.
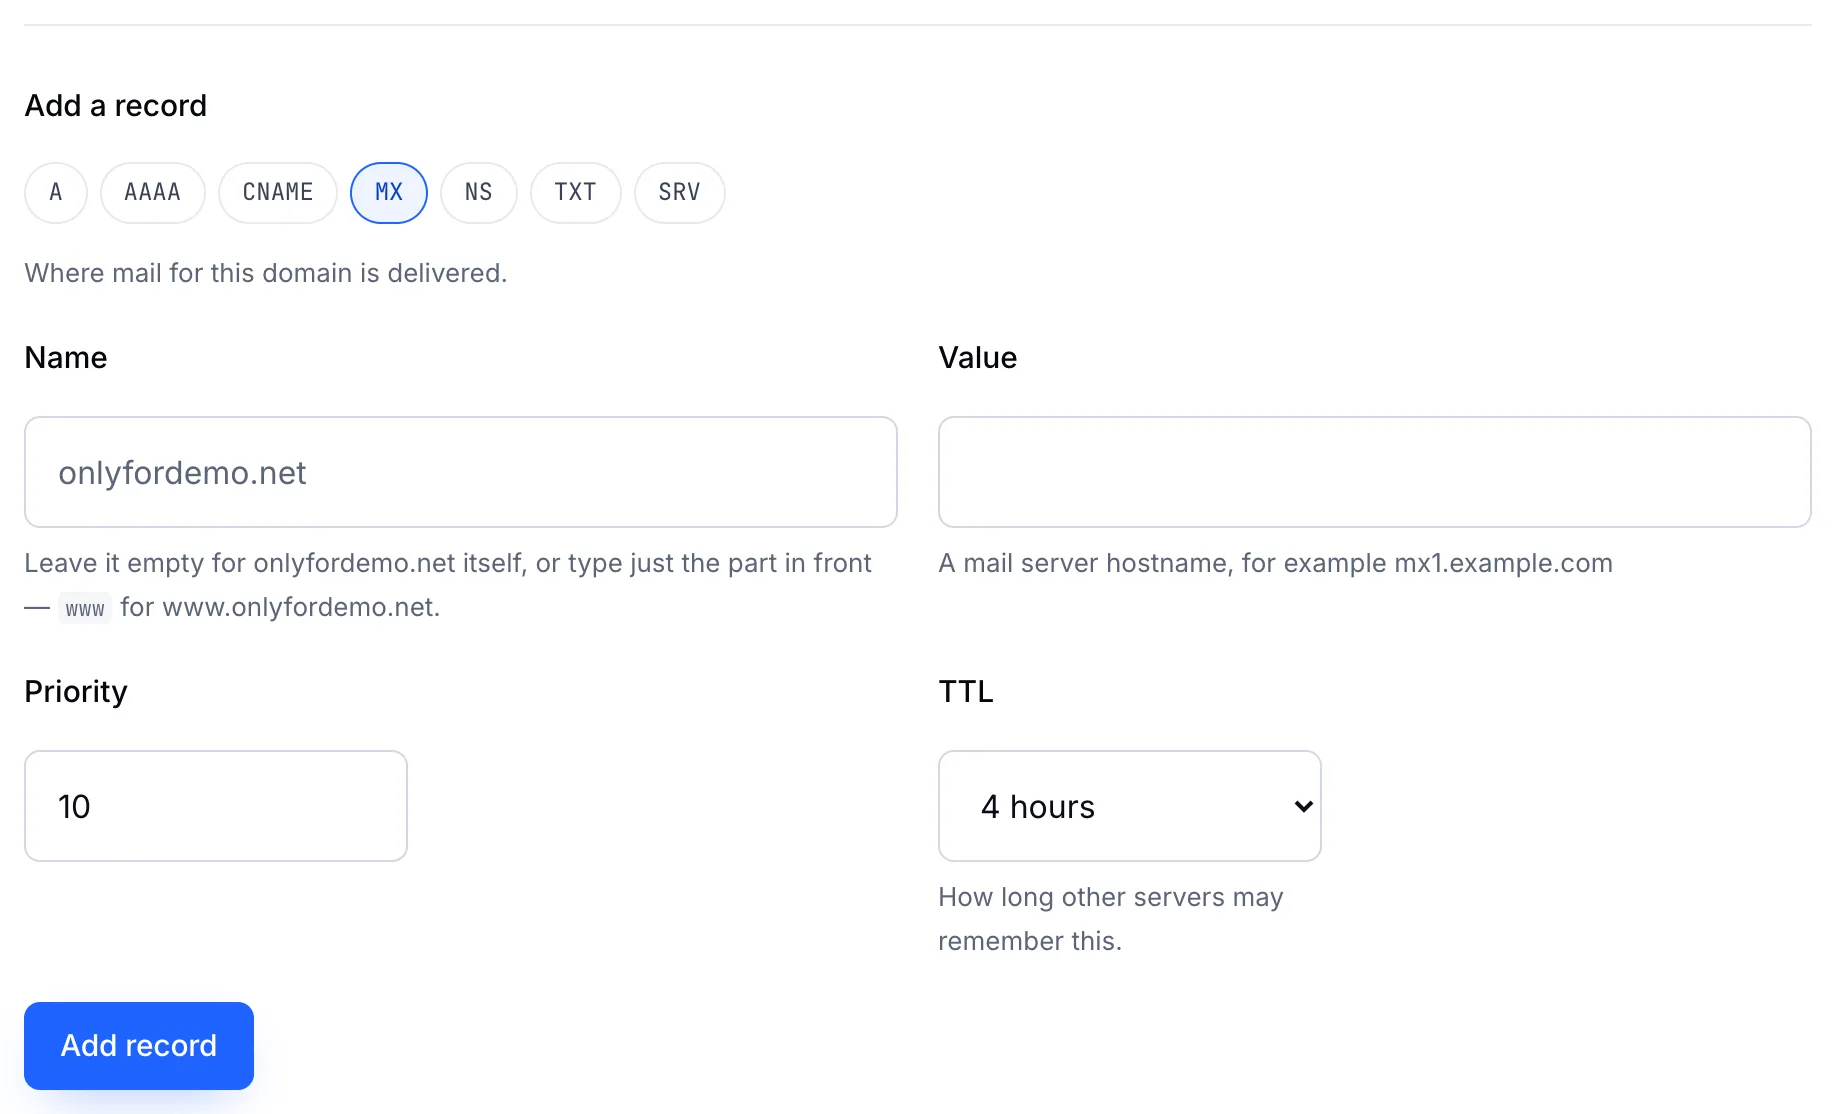
- Name — leave it empty for mail to
@yourdomain.com. Type a subdomain only if mail is for@sub.yourdomain.com. - Value — the mail server's hostname, exactly as your email provider gives it.
- Priority — a number. Lower numbers are tried first.
- Choose a TTL and click Add record.
Priority
Providers usually give you two or more mail servers with different priorities. Mail goes to the lowest number first; if that server doesn't answer, the next is tried.
| Name | Value | Priority |
|---|---|---|
| (empty) | mx1.provider.example | 10 |
| (empty) | mx2.provider.example | 20 |
Important
When you move email to a new provider, remove the old MX records. Leaving them means some mail keeps going to the old mailboxes.
Tip
Using Digipacket email? The exact MX records for your mailboxes are shown on the email service page under DNS records. See Set up your business email.