Mail for your domain only arrives once the domain's DNS says where to deliver it. That is the one step people miss.
1. Open the email service
In the sidebar, click Email and open the service.
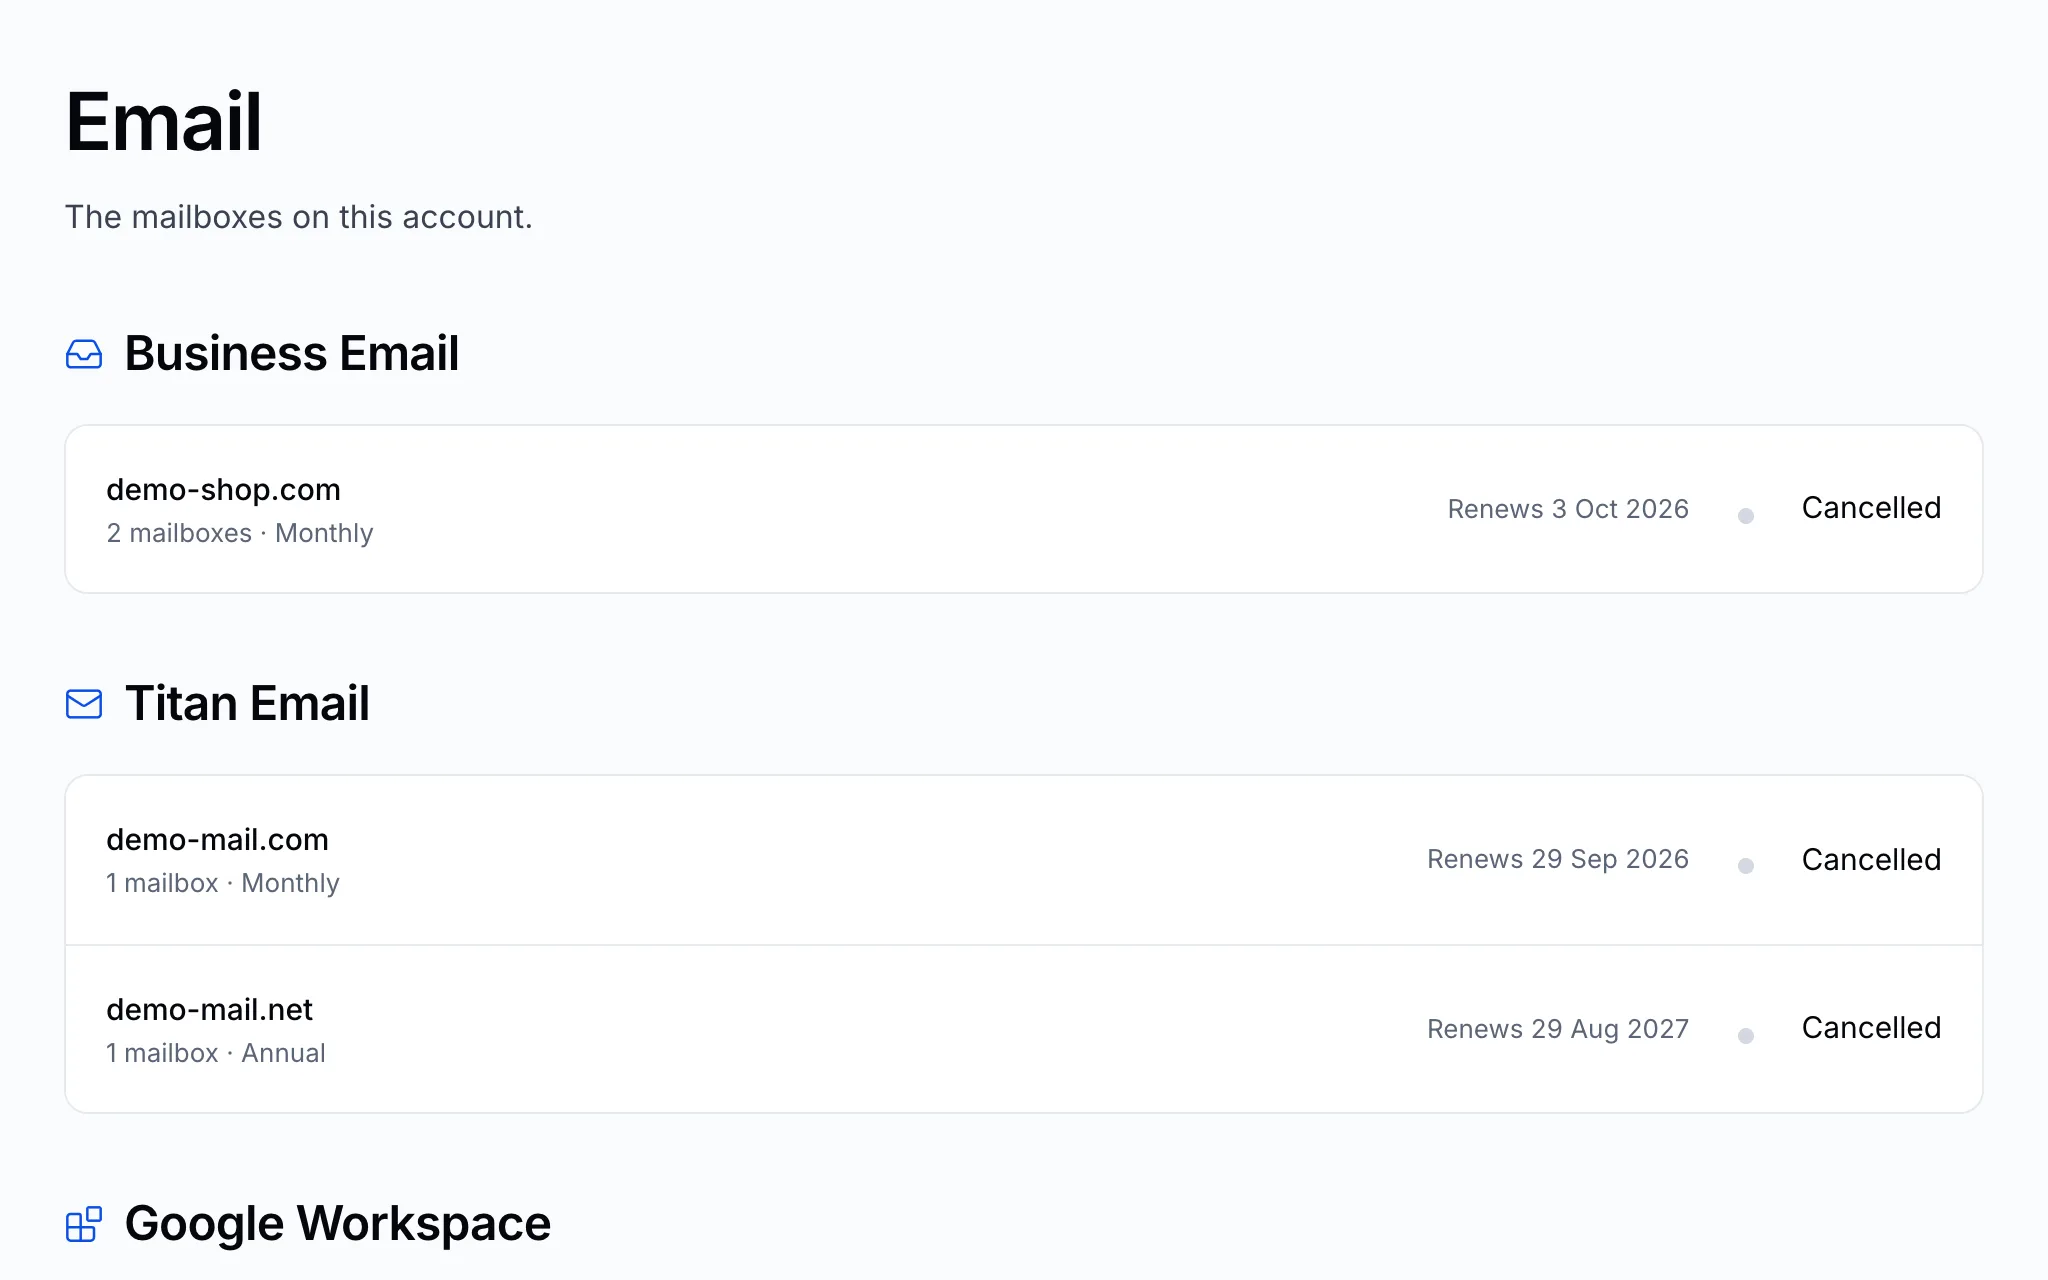
Click Manage service for the actions.

2. Add the DNS records
- Click DNS records. It lists the exact MX, SPF and DKIM records these mailboxes need.
- Add them to your domain's DNS:
- Domain with us and using our nameservers? Add them under Manage DNS — see Manage your DNS records.
- Domain elsewhere? Add them at whoever runs its DNS.
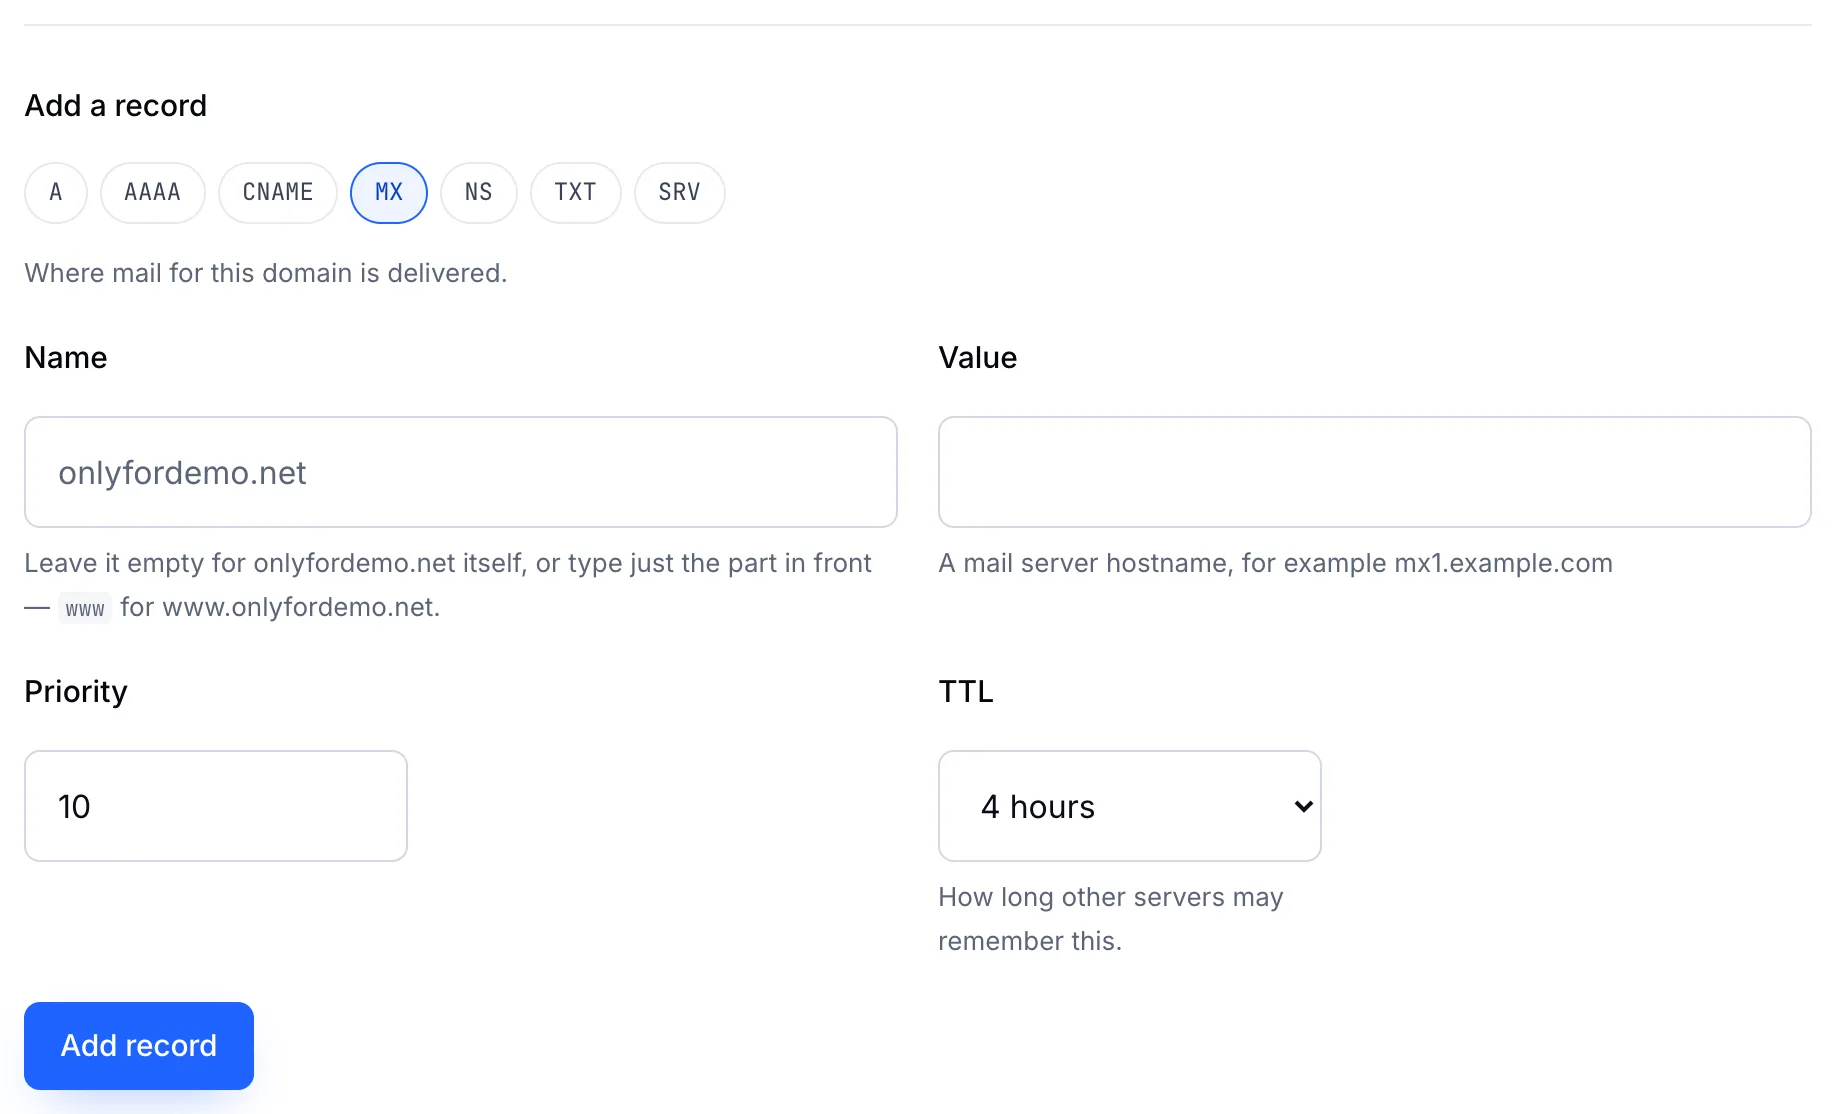
Add each MX record with the priority shown.
Important
Remove any old MX records pointing at a previous mail provider. Two sets of MX records means some mail keeps arriving in the old mailboxes.
3. Create the mailboxes
Click Mailboxes and webmail. It shows how many mailboxes the plan includes, how many are in use, and where to sign in to create them and set their passwords.
4. Check it works
Send a message from another address to a new mailbox, and reply to it. If mail doesn't arrive, DNS is usually still catching up — see DNS propagation — or an old MX record is still in place.