Every domain registered with us can use our DNS service at no extra cost. Records you set here take effect when the domain uses our nameservers.
Open the DNS records
- In the control panel, open Domains and click the domain.
- Under Elsewhere and not yet, click Manage DNS.
Switch DNS on (first time only)
If the page says DNS is not switched on for this domain yet, click Create the zone.
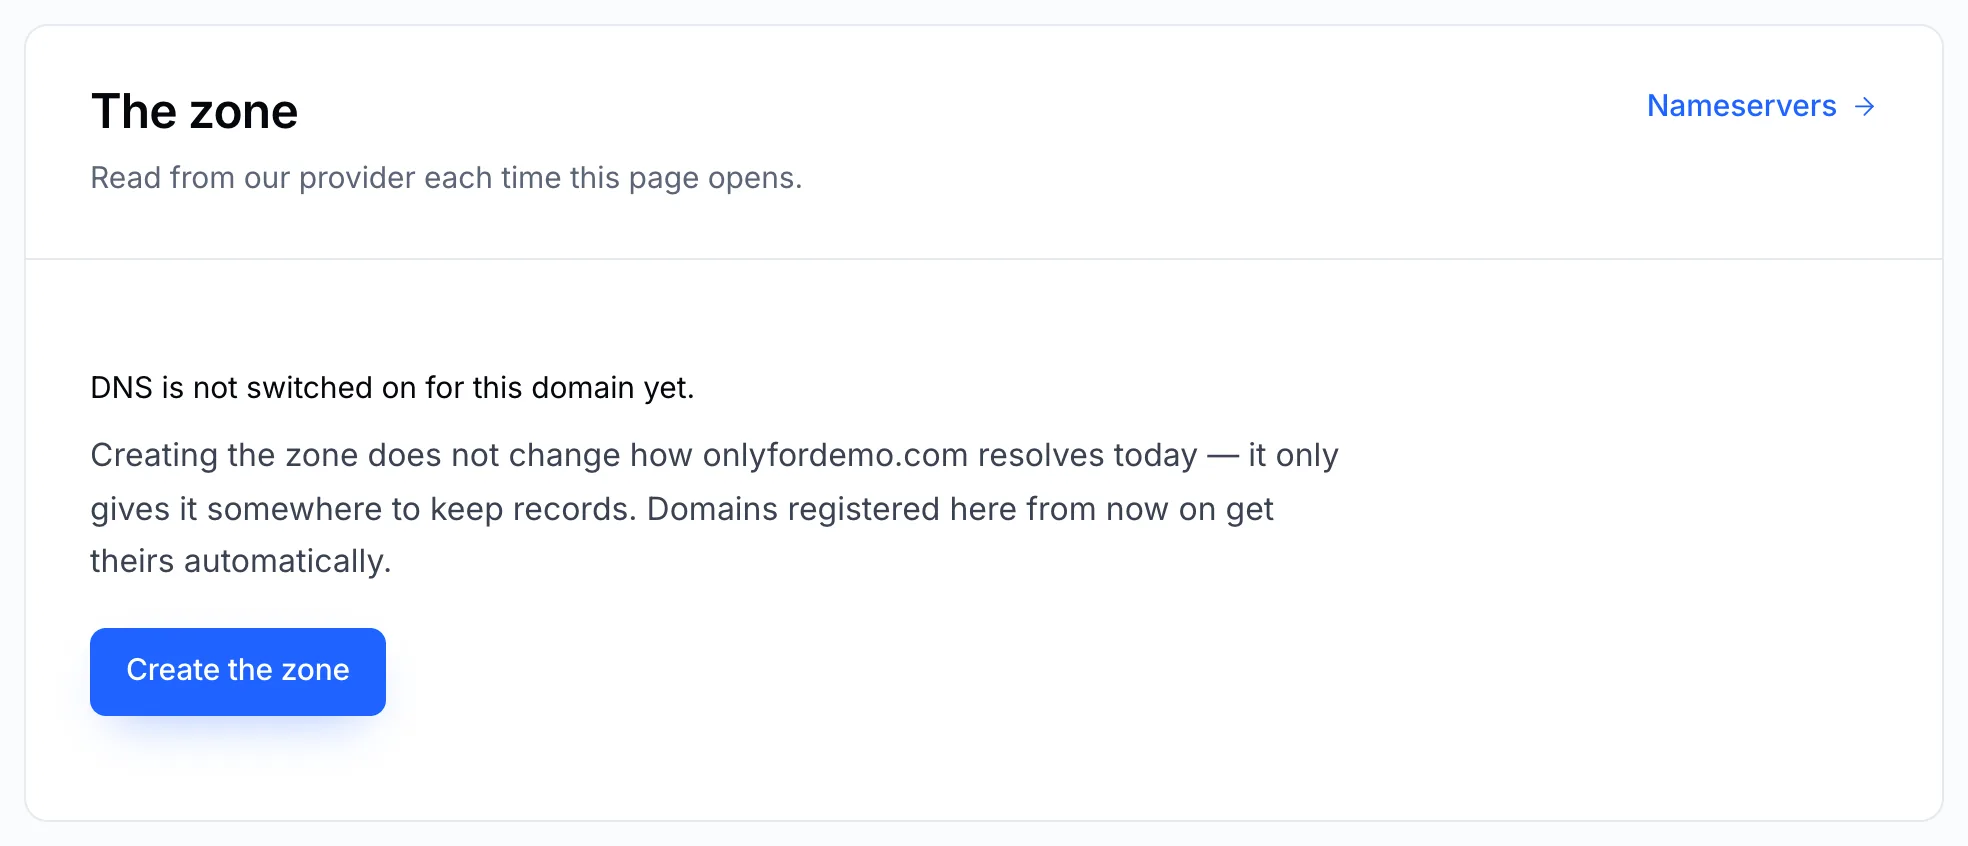
Creating the zone gives the domain somewhere to keep records. It doesn't change anything the domain does until the domain uses our nameservers. Domains registered here now get their zone automatically.
Read the records
The zone lists every record: its name, type, value and TTL. The values are read from the DNS service each time the page opens.
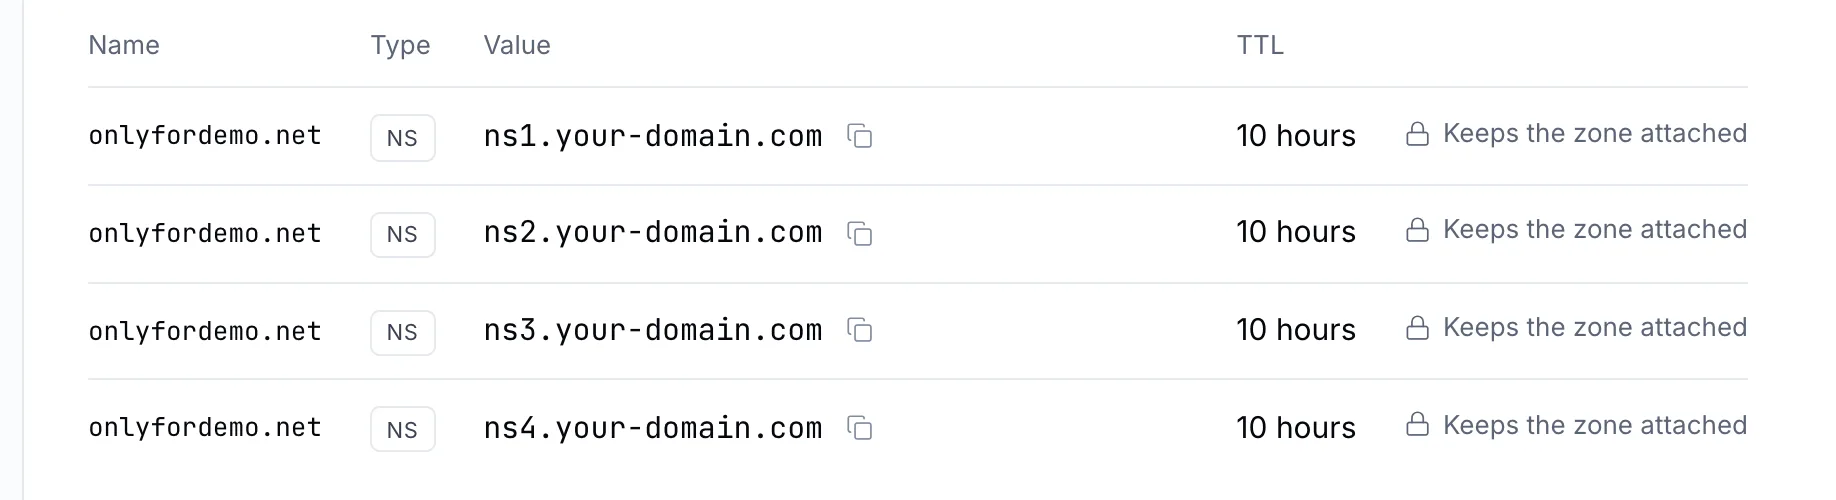
Add a record
- Under Add a record, pick the type: A, AAAA, CNAME, MX, NS, TXT or SRV.
- Fill in Name (leave it empty for the domain itself), Value, and any extra field the type needs.
- Choose a TTL and click Add record.
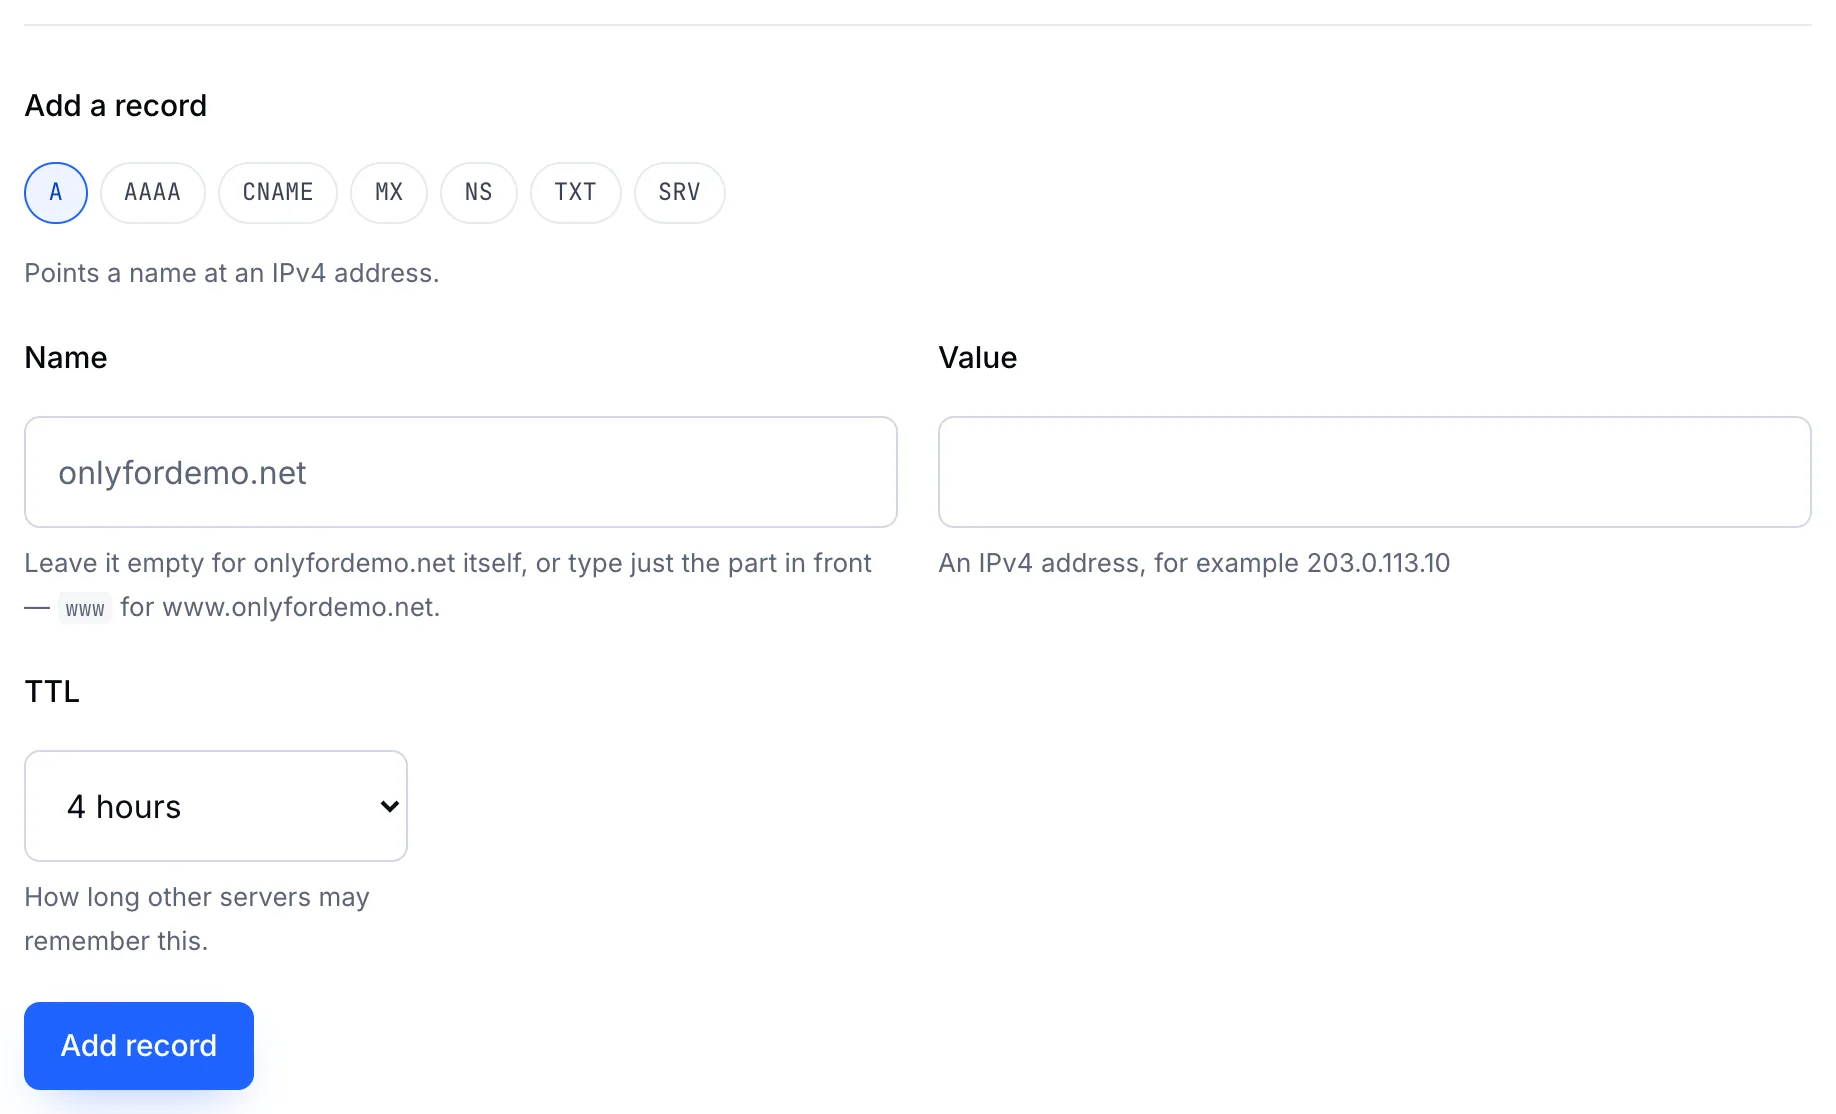
Each type explains what it does and shows an example value.
Each record type has its own guide:
Edit or remove a record
Change the value or TTL directly in the row and click Save on that row, or click Remove to delete it. Each row is saved on its own, so editing one record never touches another.
Note
Changes are live on our nameservers within a minute or two. Other networks see them as their cached copy expires — see DNS propagation.